
Adding images to a blog post or page is an easy way to improve user experience, illustrate content, and help SEO efforts. Images break up text so it’s more digestible for readers and can help explain and demonstrate specific points. Also, when you label your images properly, they can appear in search engines which will send more people to your site.
To insert an image, follow these simple steps:
- Insert the cursor where you would like the image to appear in your post/page.
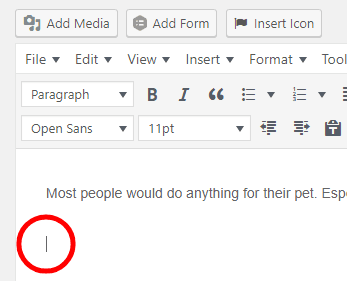
2. Click the Add Media button above the post editor toolbar.
3. A box will appear. Here, you can upload files from your computer. Files you’ve already uploaded will appear in the Media Library tab at the top. To upload a new file, select the Upload Files tab and click the Select Files button.

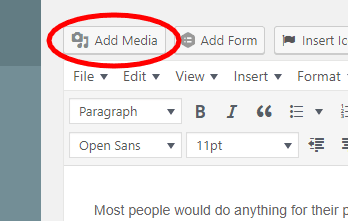
4. Locate the file on your computer, select it, and click Open.
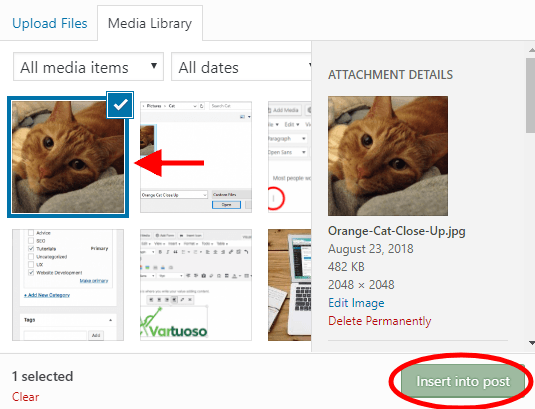
5. The image you just uploaded should now be selected. Click the Insert into post button at the bottom.
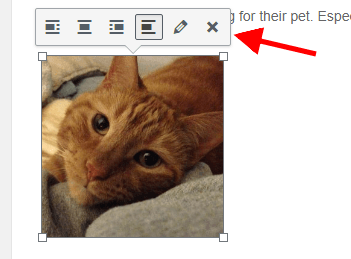
6. Voila! Your image should now appear in your post/page. If you select it, a toolbar will pop up where you can edit its page alignment, labels, etc.
You can resize the image by clicking its corners and adjusting them. Images with a large file size can slow your website down- and deter users- so be sure to optimize your pictures!
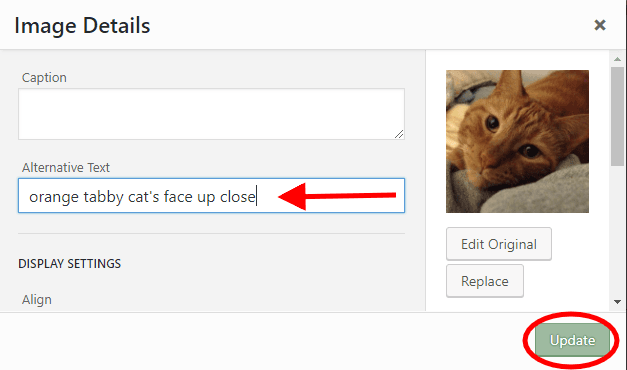
7. Ready to make your image work for you even more? Add alternative text. Alt text is what is displayed if your image doesn’t load properly and it lets search engines know what your image is about… which will in turn help with SEO.
To add alt text, click the pencil icon in the picture toolbar.
![]()
A box will appear with text fields for you to edit. Type what you would like to add and press Update at the bottom.
Congratulations! By adding an image to your site, you just improved your user experience and website performance dramatically with a few simple clicks!